In this video, I create a fun slider card with the Fun in Sun Combo Set from Waffle Flower Crafts. Watch how I build a beachy scene and then add an interactive element to make the surfing mouse actually move up and down with the waves!
Surfing Mouse Slider Card
Watch below or on my YouTube channel.
First, I created the beach background with the Cloudscape Panel Die. I diecut an A2 panel of white cardstock with the die and then I partially die cut another panel with the die to create my ocean. I then ink blended the first 3 sections of clouds with the Tumbled Glass Distress Ink, then the ocean with Salty Ocean and Chipped Sapphire, and lastly the sand with Antique Linen and Tea Dye.

After I finished ink blending the sand I then splattered it with water down Tea Dye to create the look of pebbles. With all my scenery layers done, I then cut off the small section that divided the ground and clouds then adhered the remaining frame, the ocean, sand and 3 ink blended cloud layers to an A2 panel of white cardstock. With my background complete, I then diecut a channel for my slider with the smallest die from the Sentiments Die Set.
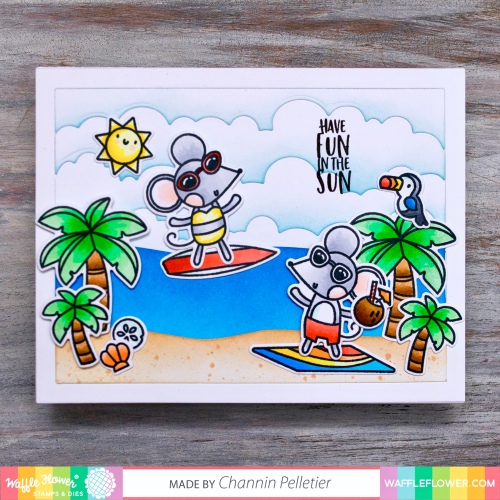
Next, I stamped my sentiment in Memento Tuxedo Black on the panel with my MISTI. I then added doubled up foam tape to the backside of the panel as well as on a doubled up small rectangle on the penny. Next, I adhered the panel to an A2 card base, making sure to sandwich the penny between the panel and the card base with the foam tape rectangle inside the channel. I then stamped and copic colored several images from the Fun in Sun Stamp Set then diecut them out with the matching die. I then finished the card by adhering the images to my card front with glue and foam tape.
I hope you enjoyed! Thanks so much for stopping by!
~Channin
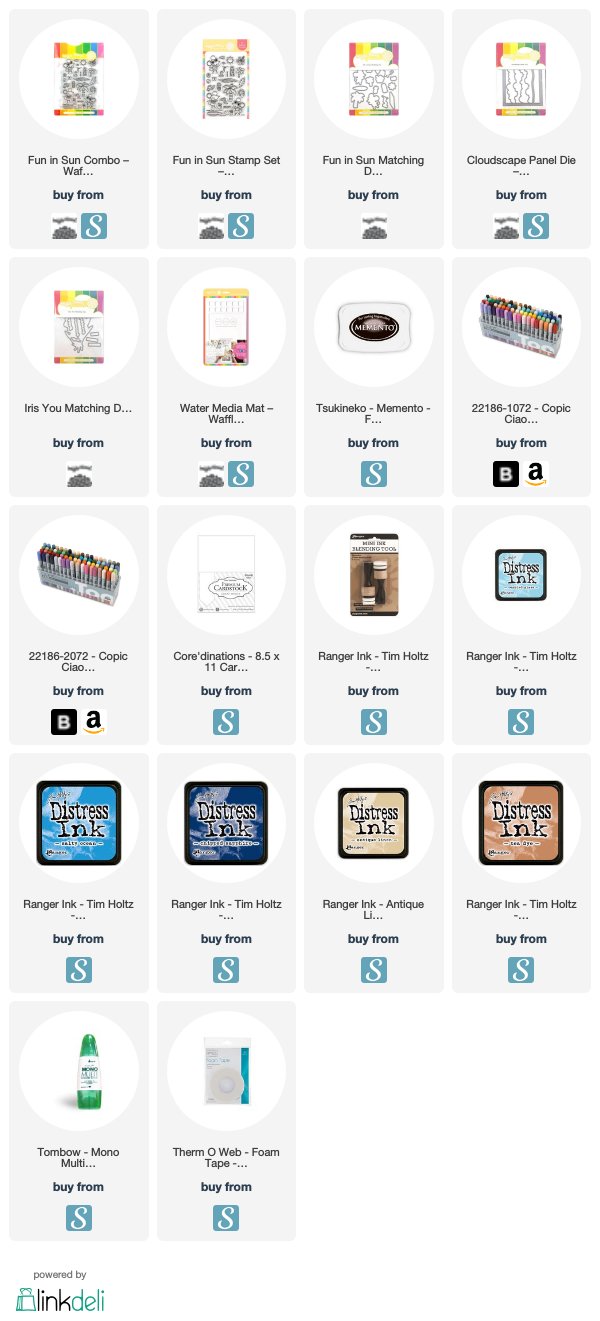
Supplies:

One thought on “Surfing Mouse Slider Card”